I know today's chevron is probably tomorrow's floral wallpaper.....
but I just don't care. I'm lovin' this guy. I just wish somehow I had more time in life.
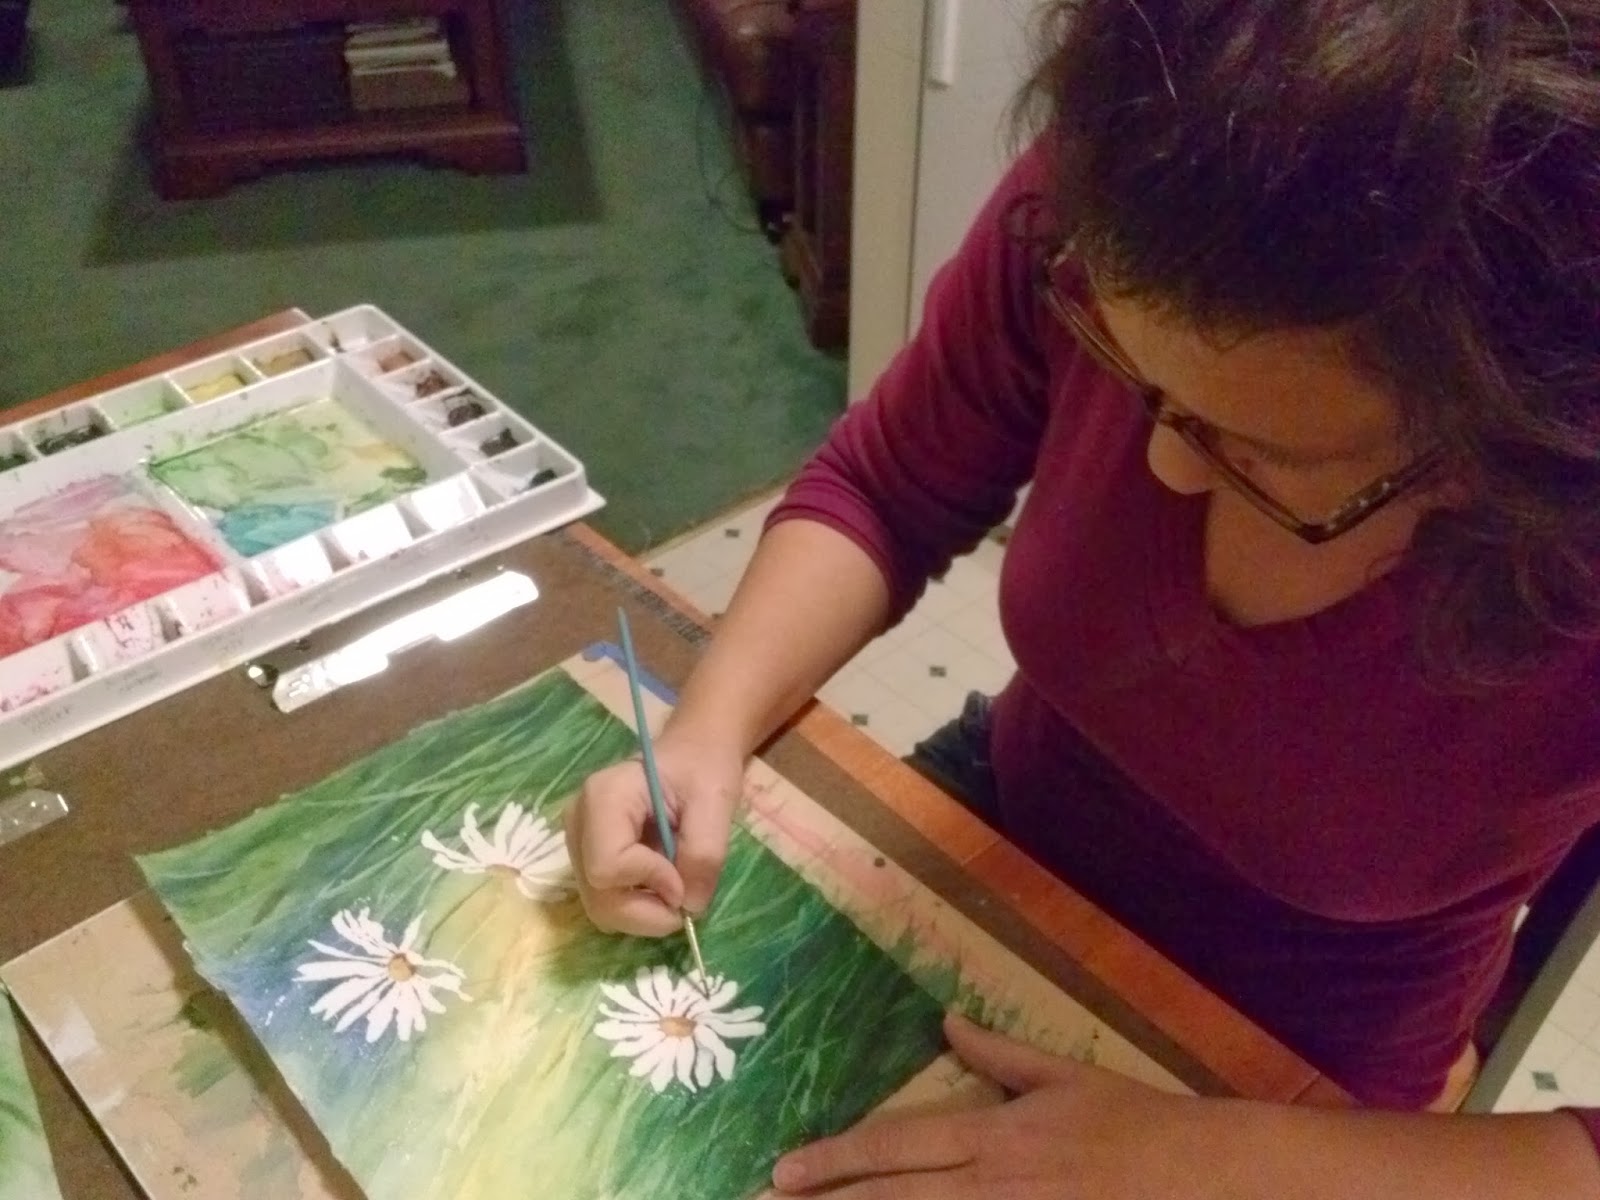
And I wish that blogger wasn't having issues & would stop rotating my pics the wrong way. Ugh.
.JPG)